How to Remove Iron-On Tags & Labels
How to Remove Iron-On Tags
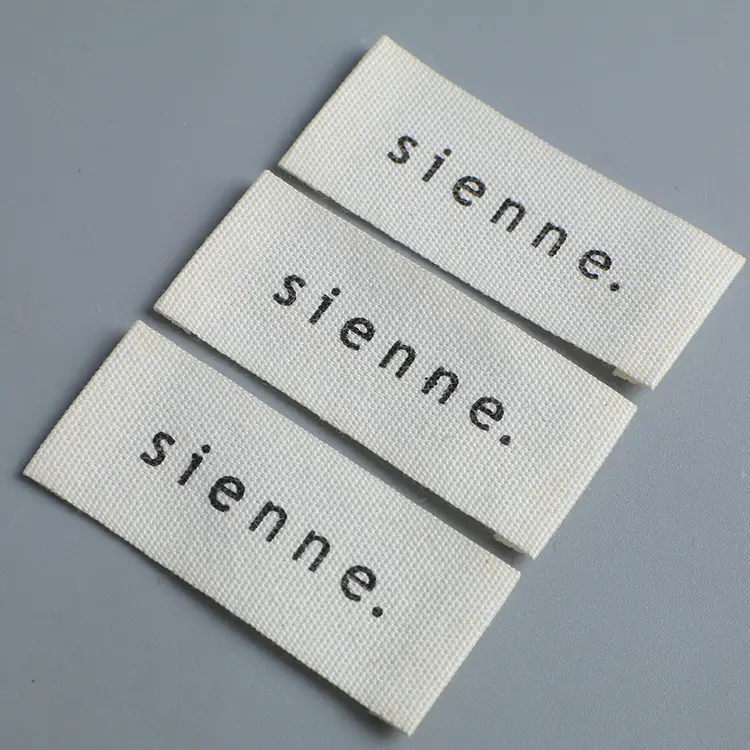
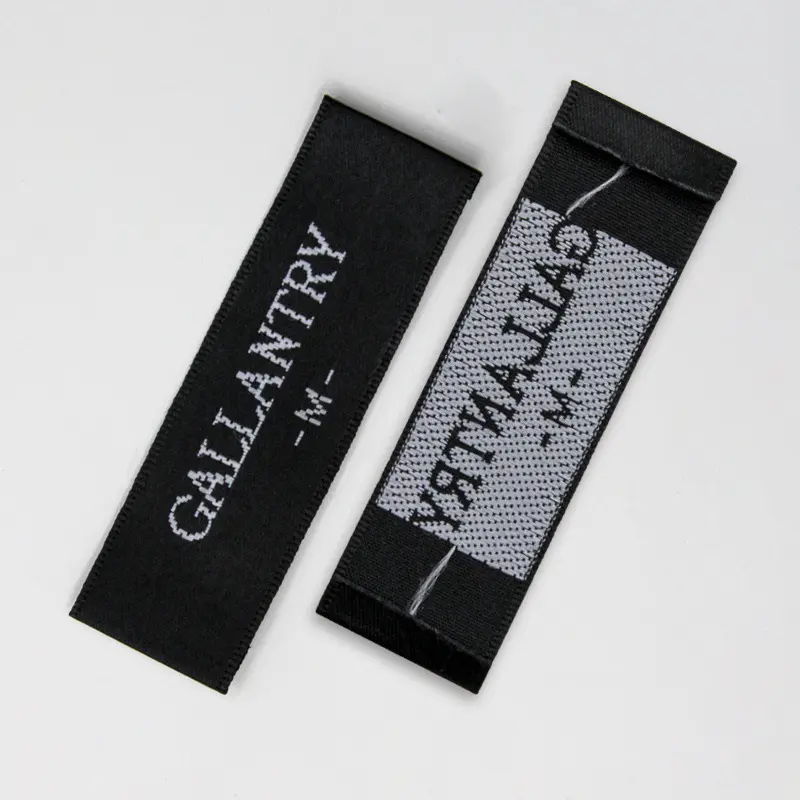
Iron-on tags are convenient and highly effective, but there are times when you might need to replace or completely remove them. Below is a simple guide on how to remove iron-on tags.
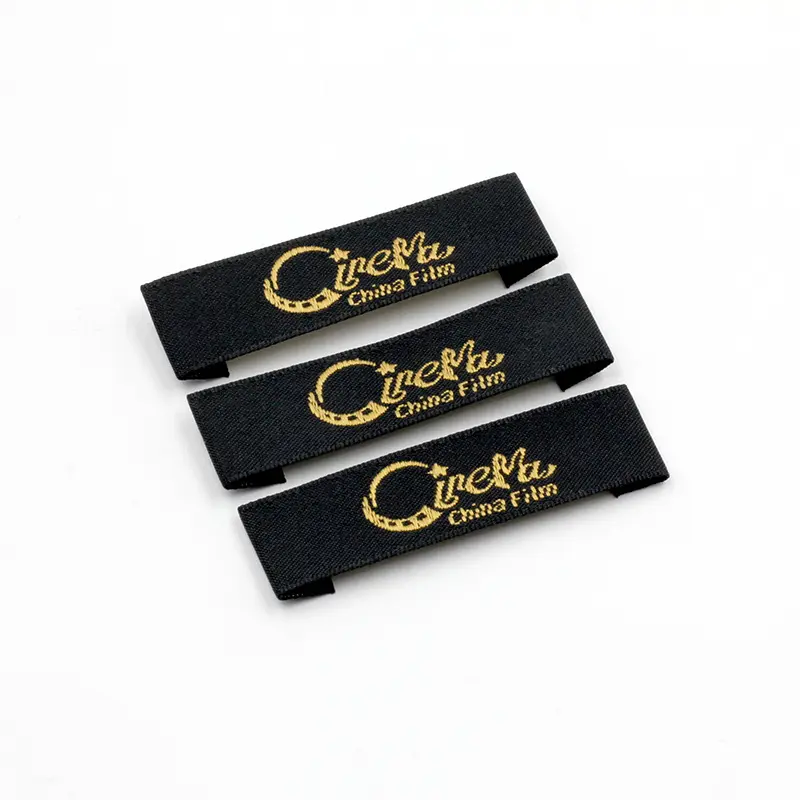
Tools You’ll Need
- A pair of tweezers
- An iron
- Parchment paper or baking paper
Steps to Follow
Step 1: Preparation
Lay the garment or fabric flat on an ironing board or any smooth surface. Preheat the iron to a setting slightly higher than what you used to apply the tag.
Step 2: Heat the Tag
Cover the tag with parchment paper or baking paper. Firmly press the preheated iron onto the tag and iron it back and forth for about 15–20 seconds.
Step 3: Peel Off the Tag
Using tweezers, grip one corner of the tag and carefully peel it off while it’s still warm. If the tag doesn’t come off completely, reheat it for another 5 seconds and continue peeling.
Note: Be gentle to avoid distorting the fabric.
Cleaning Up Residue
After removing the tag, some adhesive residue may remain on the fabric.
- If the residue cannot be fully cleaned, it’s recommended to cover the area with a new tag. The new tag should be slightly larger than the original to hide any leftover marks.
- Avoid replacing tags multiple times on the same spot, as the adhesive residue can harden the area, making it unsuitable for direct skin contact.


